Tutorial: Marking your corrections
In most cases you will be supplied with a PDF proof by email for approval. If you wish to mark any changes to the proofs you can do so in Adobe’s free PDF viewing software, Acrobat Reader. Here’s how…
Step 1. Install Acrobat Reader
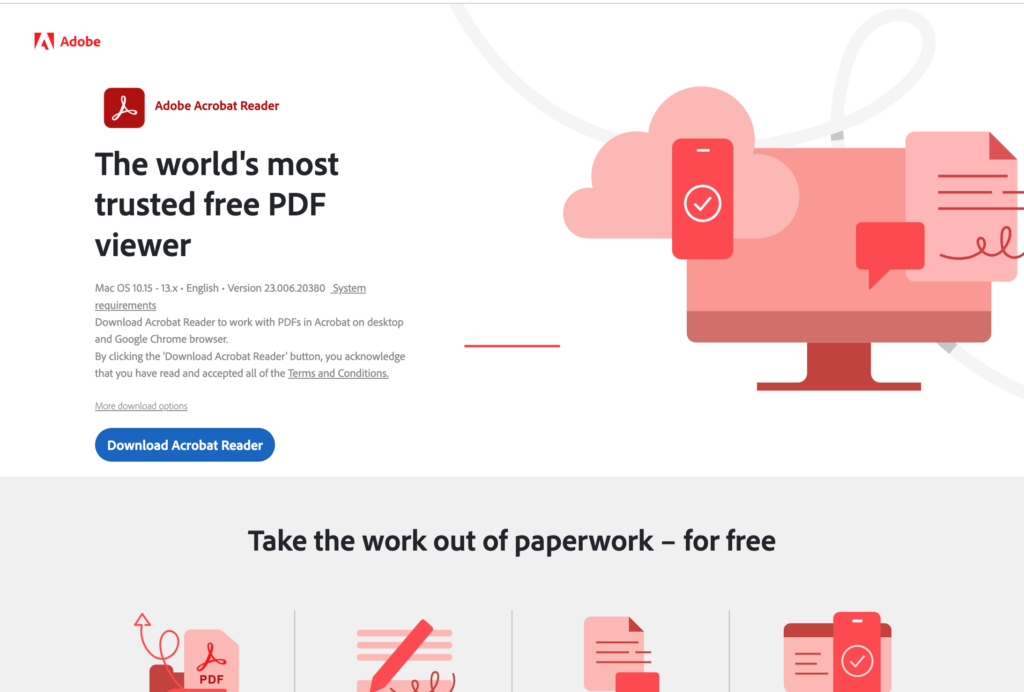
If you haven’t already installed Adobe Acrobat Reader on your computer you can download the software from Adobe’s Acrobat Reader download page.
1.1. Click the button that reads Download PDF Reader

1.2. Before downloading you will be taken to the next page that will check you are downloading the correct version for your computer and operating system. If the version shown is correct then click Download Acrobat Reader
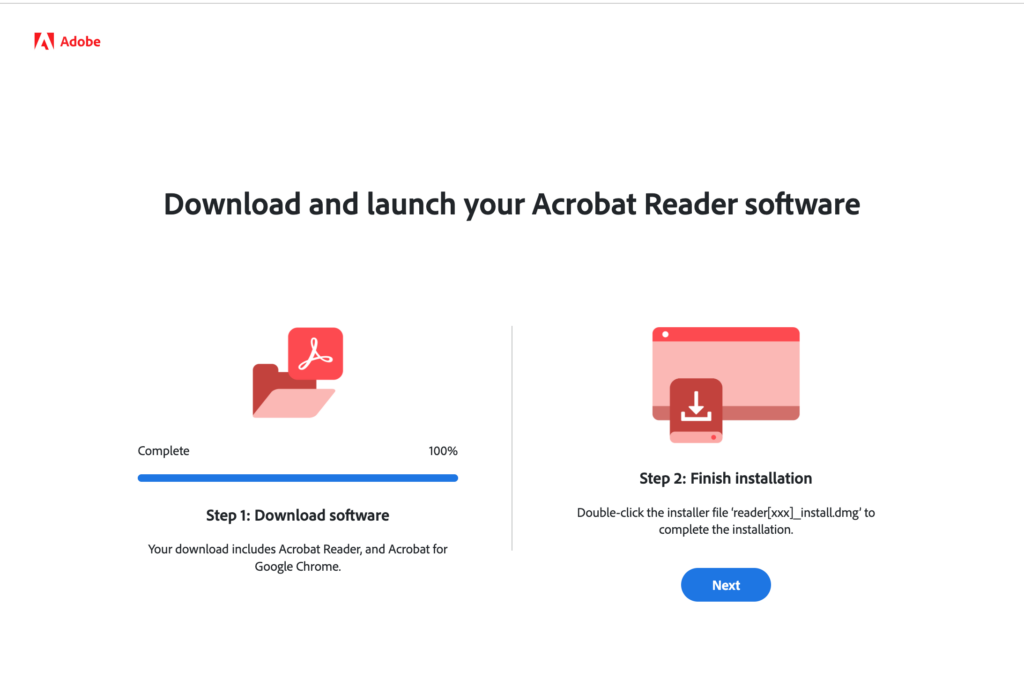
1.3. Follow the on-screen instructions and complete the installation.
Step 2. Open file and add comments
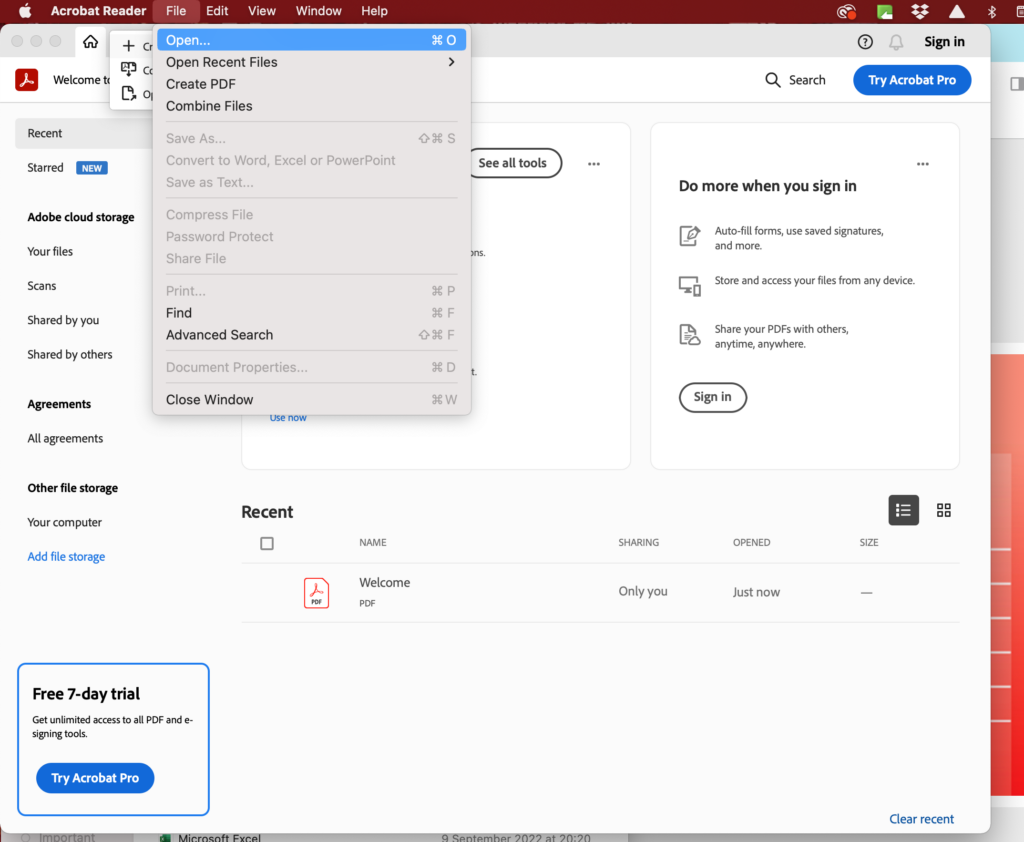
2.1. Open Adobe Acrobat Reader and open the PDF proof.
2.2. Once your PDF is open you should click on ‘all tools’, shown here in the top left corner.
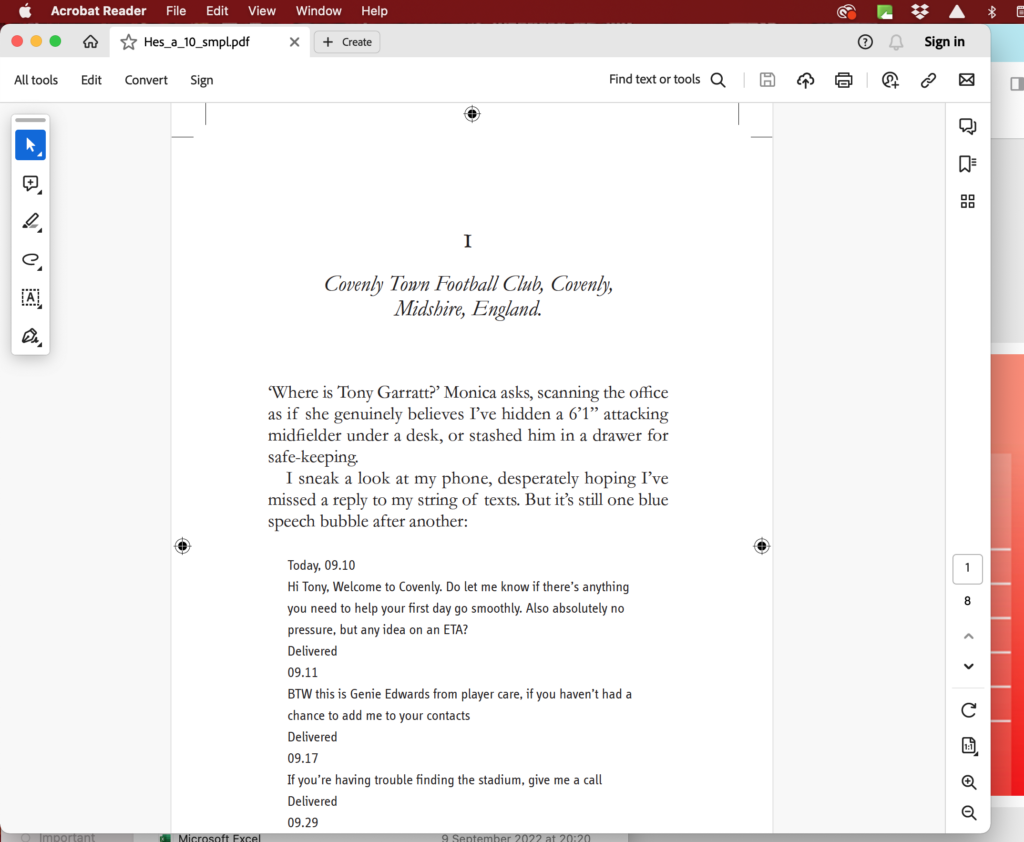
2.3. You now need to click on ‘Add comments’, highlighted here on the left.

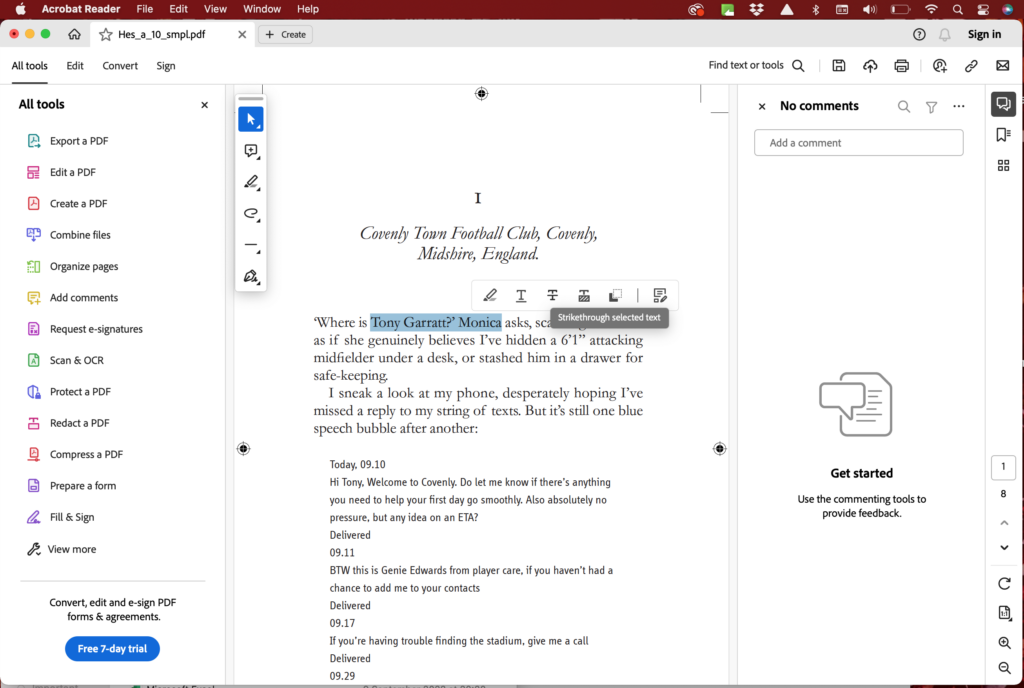
Step 3. Add your corrections
3.1. You can now select the copy you would like to change and click the tool that best fits the correction you would like to make.
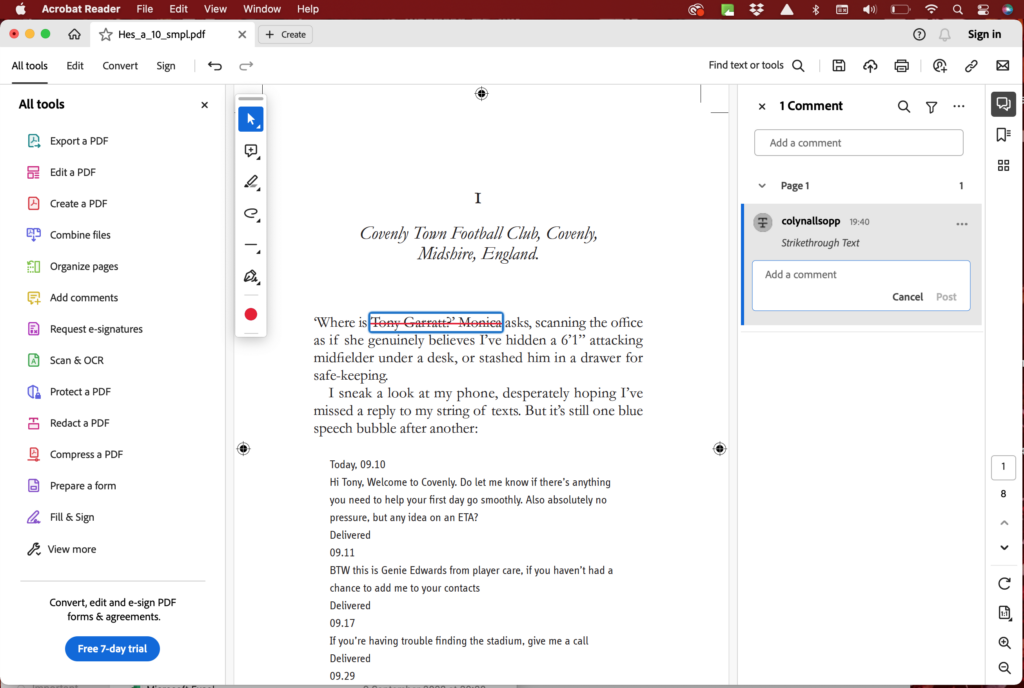
3.2. The picture shows the strikethrough tool being added to the selected text. Once the strikethrough is added a comment post will appear in the posts column on the right hand side. You can add instructions to this comment and then click ‘post’.
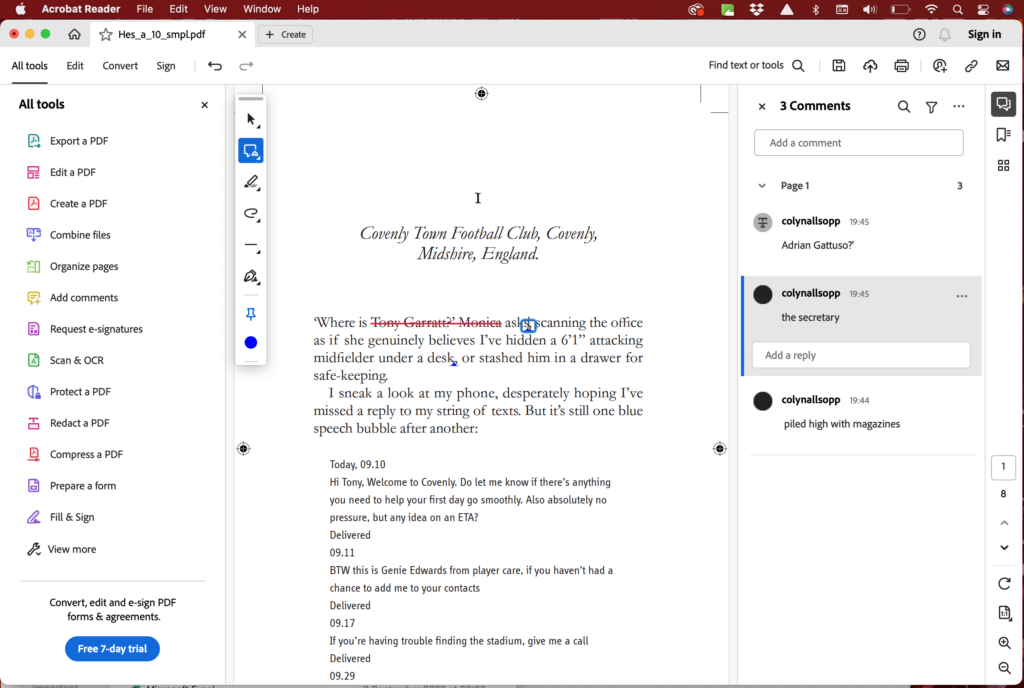
Step 4. Save your corrections
In the image you can see comments have been added and the updated PDF is ready to be saved.
Tip: When saving your document click ‘Save As’ and replace the old file. Changes made to a PDF will be stored within the file and make the file size much bigger. By clicking ‘Save As’ and replacing the old file you will keep the file size much smaller.